More DIY stuff! RGB LED Rails for light painting

After a couple of days of inactivity I am glad to be back again, and this time I bring with me more light painting DIY stuff. The main reason I haven’t posted is precisely that what I am sharing next has kept me busy . If you fancied what you saw in my previous “how-to” style post, which described how to build jigs for creating amazing Light Orbs, you are going to love this one too (or at least that is my intention).

In this occasion I am going to guide you through building Colour changing LED Light Rails.

… but what exactly is that??

To put you into context, this new toy is built of RGB LED strips, that come off the shelf in reels of different lengths. The strips are cuttable every 3 LEDS along the cutting marks, without damaging other parts. The LED size is 5mm x 5mm, being they separated about 3.5cm from one another (if you do the maths, those 5 meters contain 150 LEDs). As you will see in a minute, you can easily find on eBay a bundle that includes the reel, a 44 key remote controller, its IR receiver and a 12V transformer to power everything up for no more than a few quids.

The LED strips look as follows:

Blog___DIY_Light_Rails_Gear_0004

As the name already suggests, the LEDs are RGB, which stands for Red, Green and Blue that are the additive primary colours. This means that every individual LED is actually composed by 3 LEDs, one of each primary colours. Combining light of these colours in the right proportion (of intensity) any colour’s spectrum can be synthesised (even black which is the absence of light, although it is not too useful for our purpose, hehe).

We are going to cut and stick a custom length segment of this RGB LED strip onto a wooden stick, task that do not require any glue since the back side of the reel is self-adhesive.

What can I use it for??

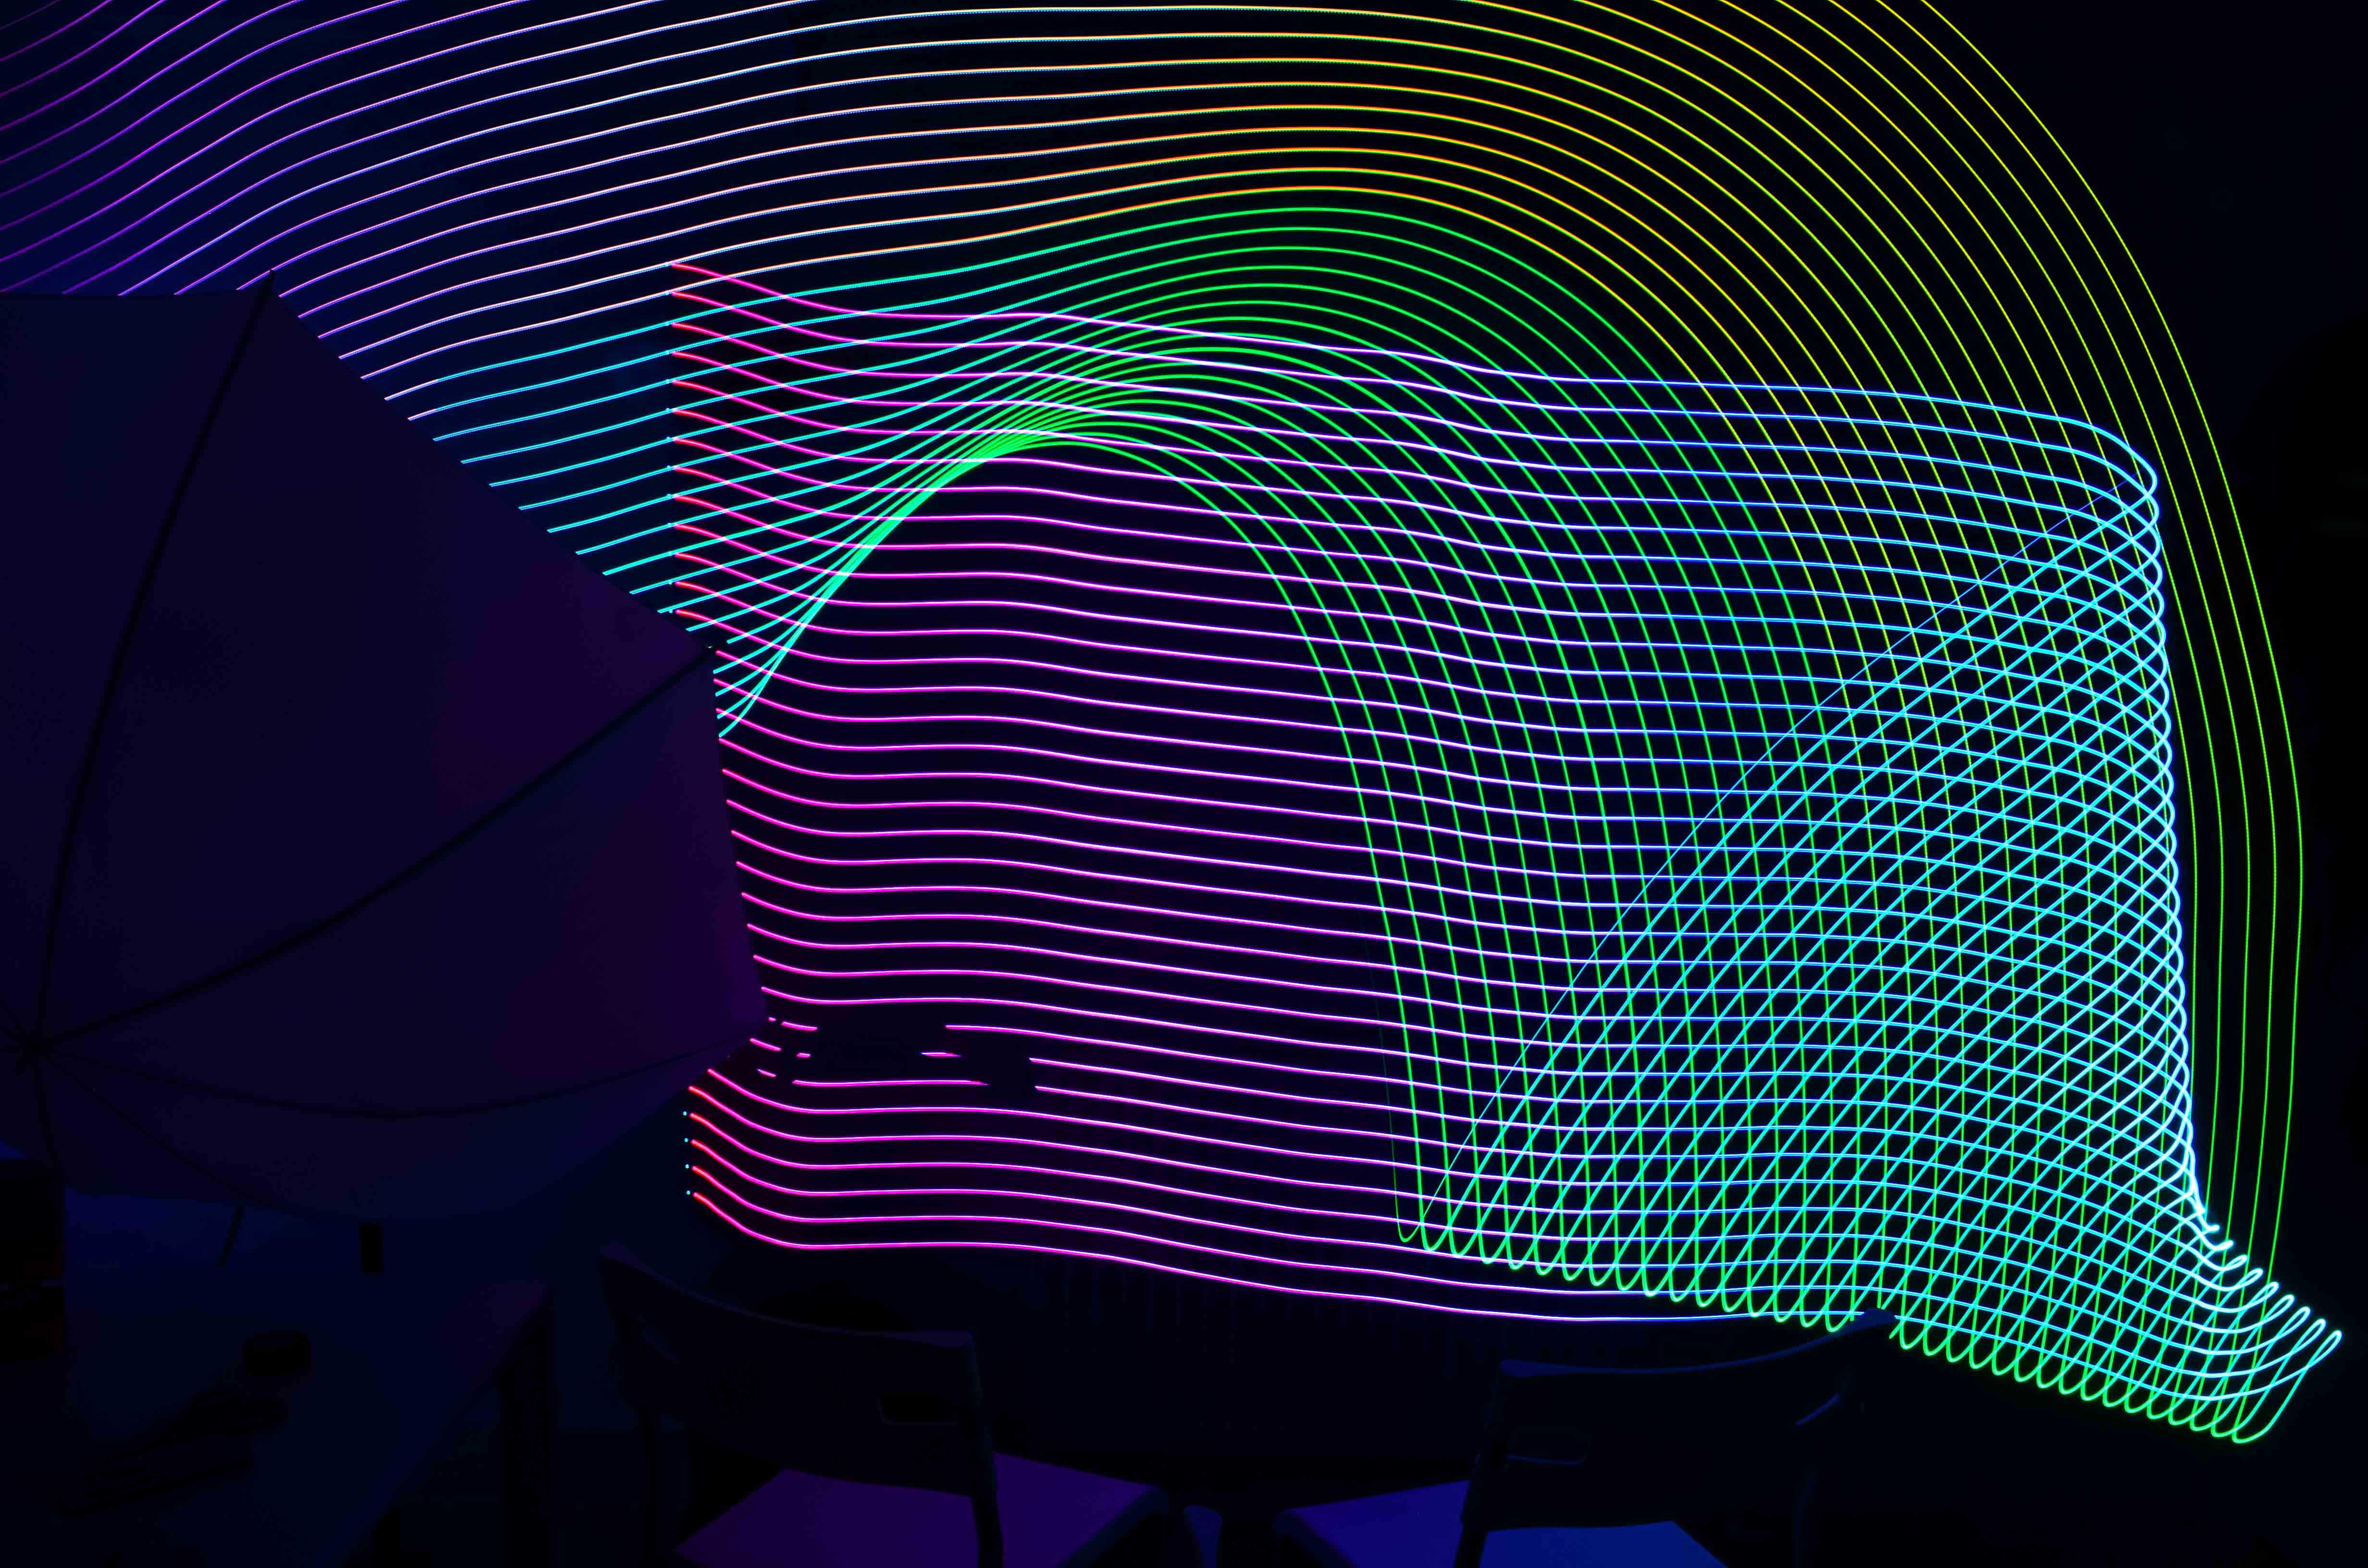
Once we have the wooden beam with the LEDs on it, we need to power it up, switch it on and move it around in the dark while your camera’s shutter is open. The effects accomplished with the Light Rail are astonishing. By means of the remote, you can choose from a good range of colour sequences and speeds, adjust the brightness of the LEDs, make the LEDs to light in one single colour, etc. Combining all this and in a creative way will help you taking amazing light painting shots.

Is it too difficult to build??

I must say that the process is slightly more complex than the Light Orbs LED “bulbs” of the previous post, but nevertheless it is something almost anyone a bit dexterous can do. A bigger set of tools are required too, but nothing uncommon though. You will spend (or invest!) more time hands-on it, but the results well worth every part of it.

  • Difficulty: 8 out of 10
  • Time: 3 hours
  • Cost of the materials: £30 – £35.

Materials needed

Let’s get hands on it

STEP 1: Remove the adhesive protector sticker off the back of the strip. Place the pre-soldered connector in one end of the wooden beam and start sticking it towards the other end, as straight as you can.

I have chosen a wooden stick of  75cm x 2cm x 4cm. To be honest I planned to get it from a specialised shop but luckily enough, on Friday night I found kind of a table structure that was thrown away by one of my neighbours. It could have not been more convenient as it ended up being ideal for the job.

If you are not that lucky, you can always go to the shop and buy for a couple of pounds a stick of whatever length suits you best, but keep in mind that the longer the stick, the less portable it becomes and hence you eventually will get lazy to take it with you. On the other hand, long rails allow you to achieve certain effects that are simply not possible to get when you use a shorter version. Find the equilibrium point between length and practicality.

Blog___DIY_Light_Rails_Gear_0008  Blog___DIY_Light_Rails_Gear_0009

STEP 2: Once you have stuck the LEDs , cut the strip with scissors along the cutting mark closest to the edge.

Blog___DIY_Light_Rails_Gear_0010  Blog___DIY_Light_Rails_Gear_0011

This is what you should have by now!

Blog___DIY_Light_Rails_Gear_0012

STEP 3: Locate the IR controller box approximately in the middle of the stick and hold it in position with two screws like so:

Blog___DIY_Light_Rails_Gear_0016

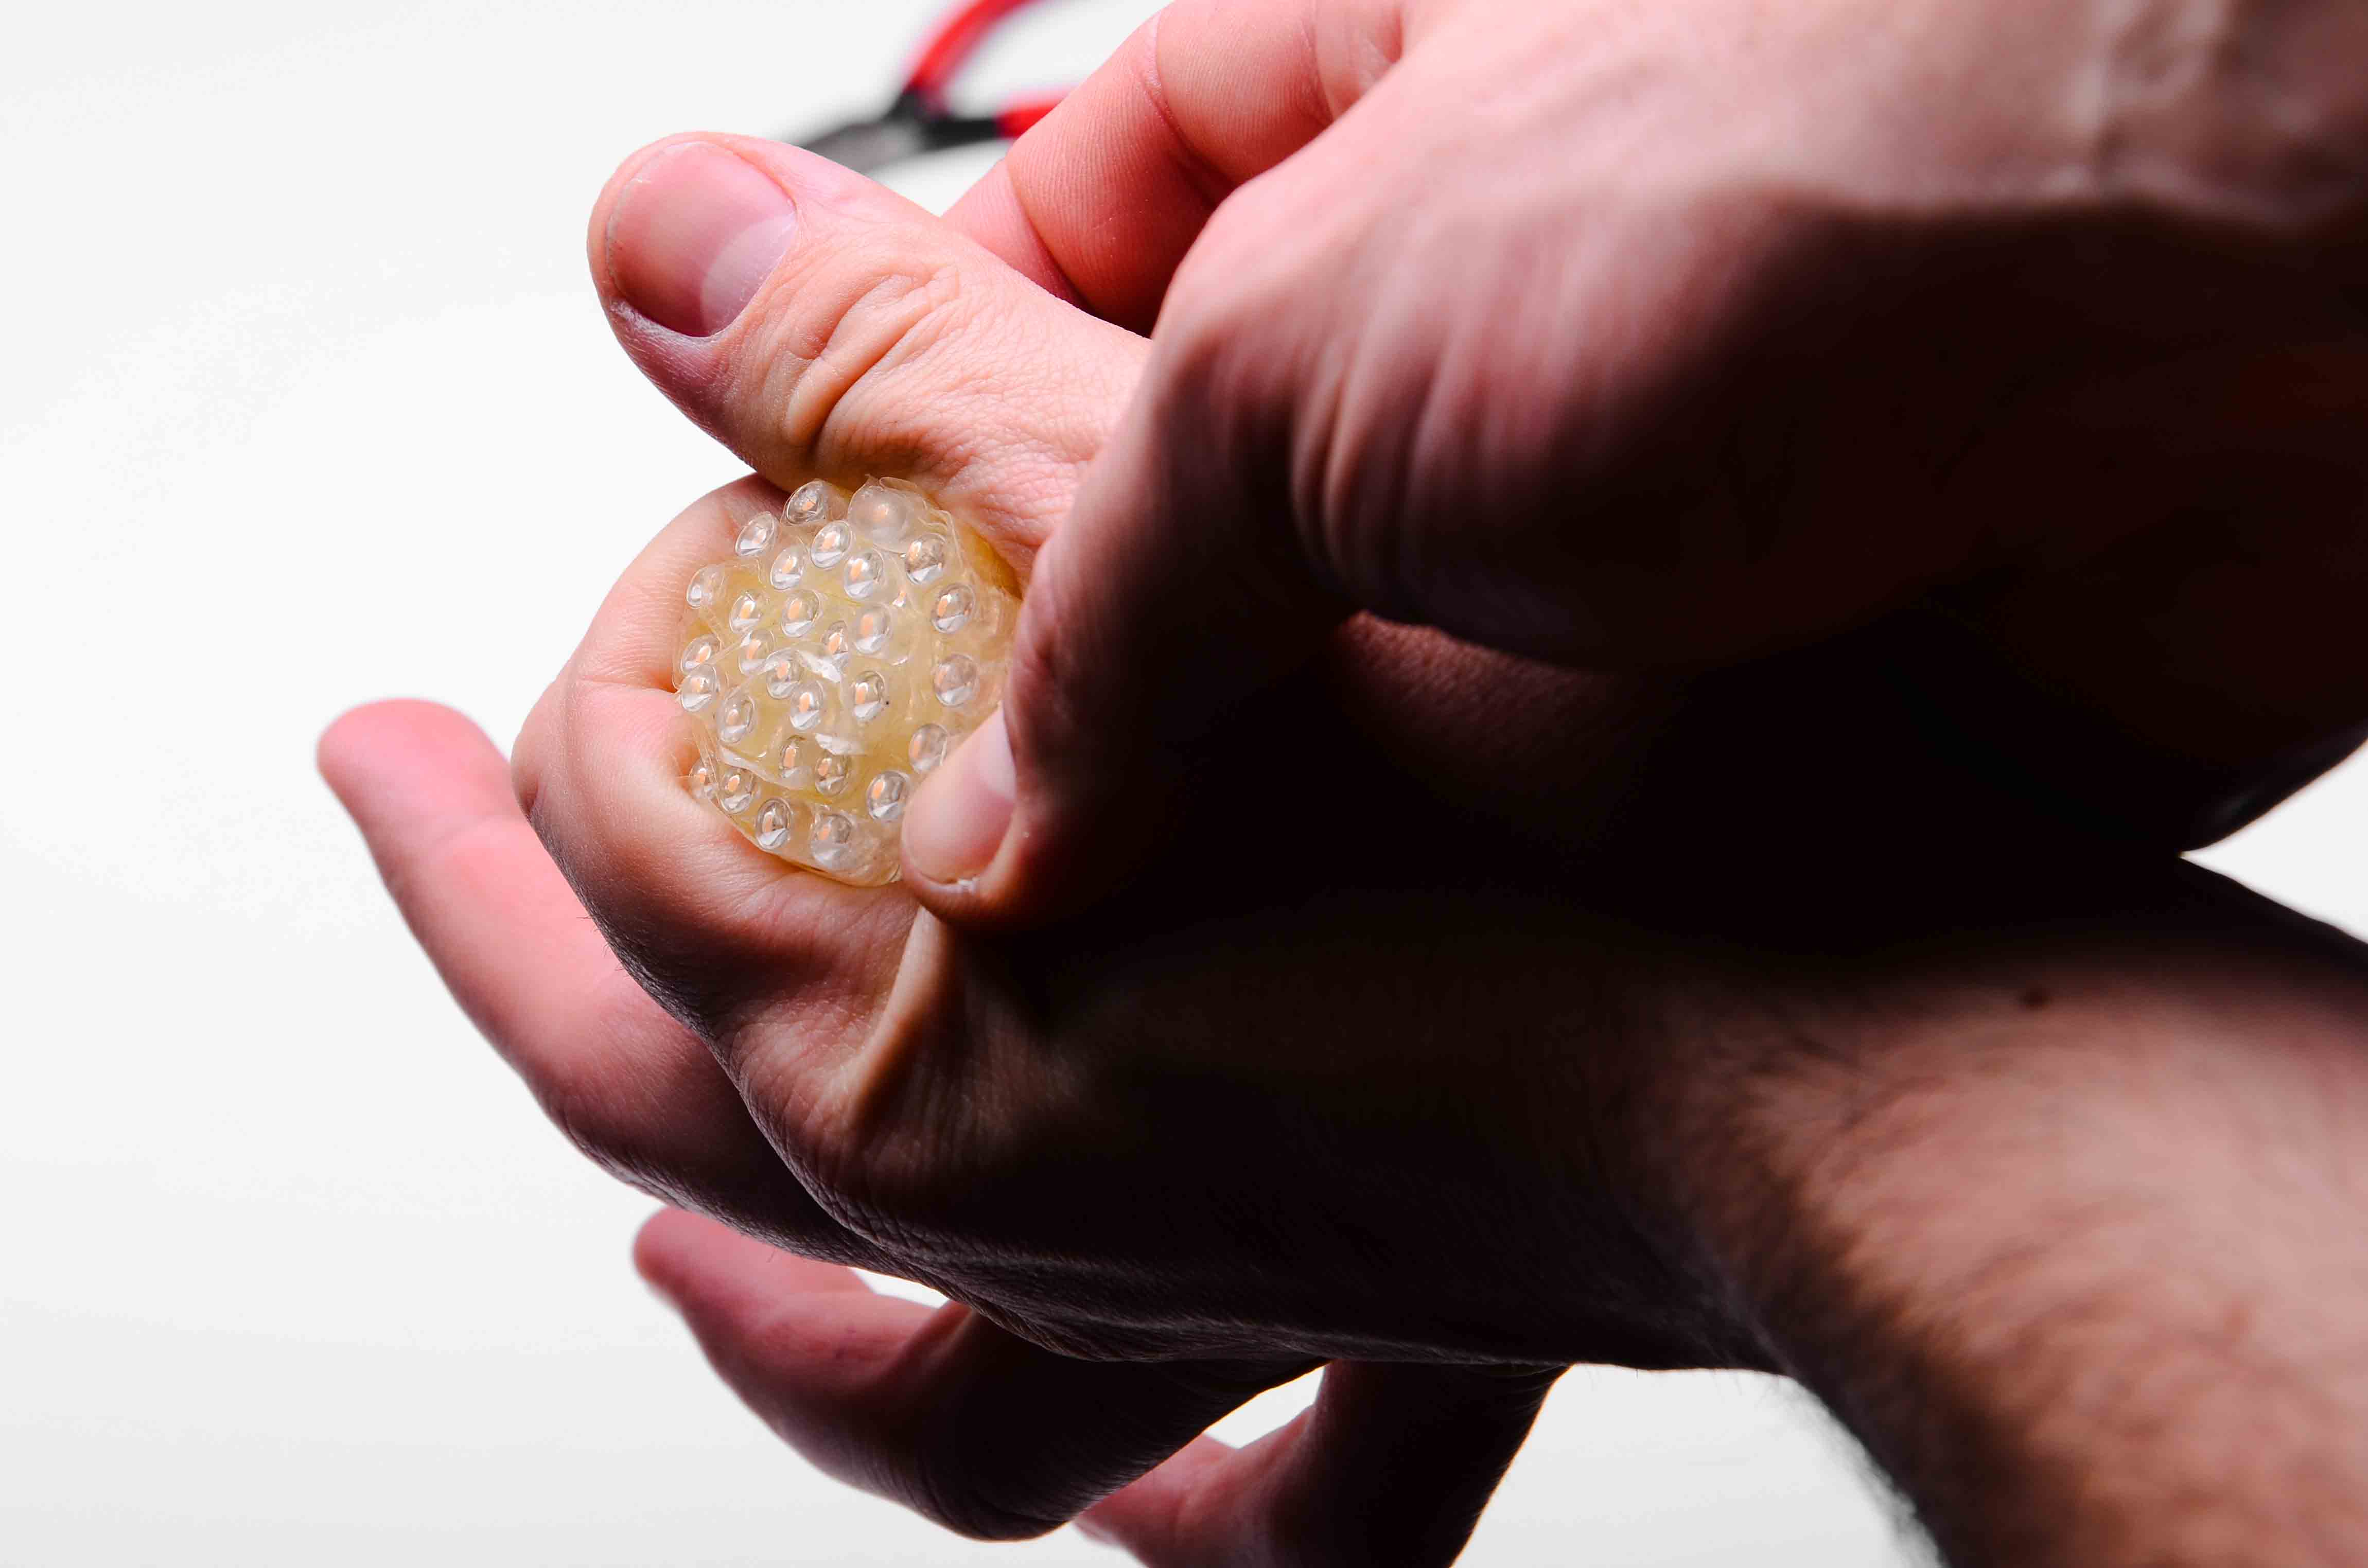
STEP 4: From the IR Controller Box, two cables come out, one for the IR receiver and the other for interfacing the LEDs via a 4 way connector. Connect the connector of the LED strip to the IR Controller connector. These two cables are oversized in length but you do not want to cut them. Instead tidy up the excess of cable using the 4mm cable clips as convenient:

Blog___DIY_Light_Rails_Gear_0017  Blog___DIY_Light_Rails_Gear_0018

Blog___DIY_Light_Rails_Gear_0019

STEP 5: Fix the battery holders in position with some screws:

Blog___DIY_Light_Rails_Gear_0020  Blog___DIY_Light_Rails_Gear_0021  Blog___DIY_Light_Rails_Gear_0022  Blog___DIY_Light_Rails_Gear_0023

STEP 6: Attach the PP3 clips to the battery holders as shown next:

Blog___DIY_Light_Rails_Gear_0027

STEP 7: It is time to do carry out the electrical part of the job. As previously commented, you need to bear in mind that the light rails work with 12V, therefore if you use AA batteries, you need to connect 8 batteries in series.

If you have bought battery holders for 8 AA batteries you will just need to use one PP3 clip whose cables will go straight to the DC power connector in the right polarity. No further connections are required.

However did not use eBay for this and all I could find in Maplin were battery holders for 4 batteries and so 2 I bought. In my case, I needed to connect them together in series as the next schematics shows:

Schematics

And here you can find some pictures of how I physically made the connections:

Blog___DIY_Light_Rails_Gear_0028  Blog___DIY_Light_Rails_Gear_0029  Blog___DIY_Light_Rails_Gear_0030  Blog___DIY_Light_Rails_Gear_0031  Blog___DIY_Light_Rails_Gear_0032

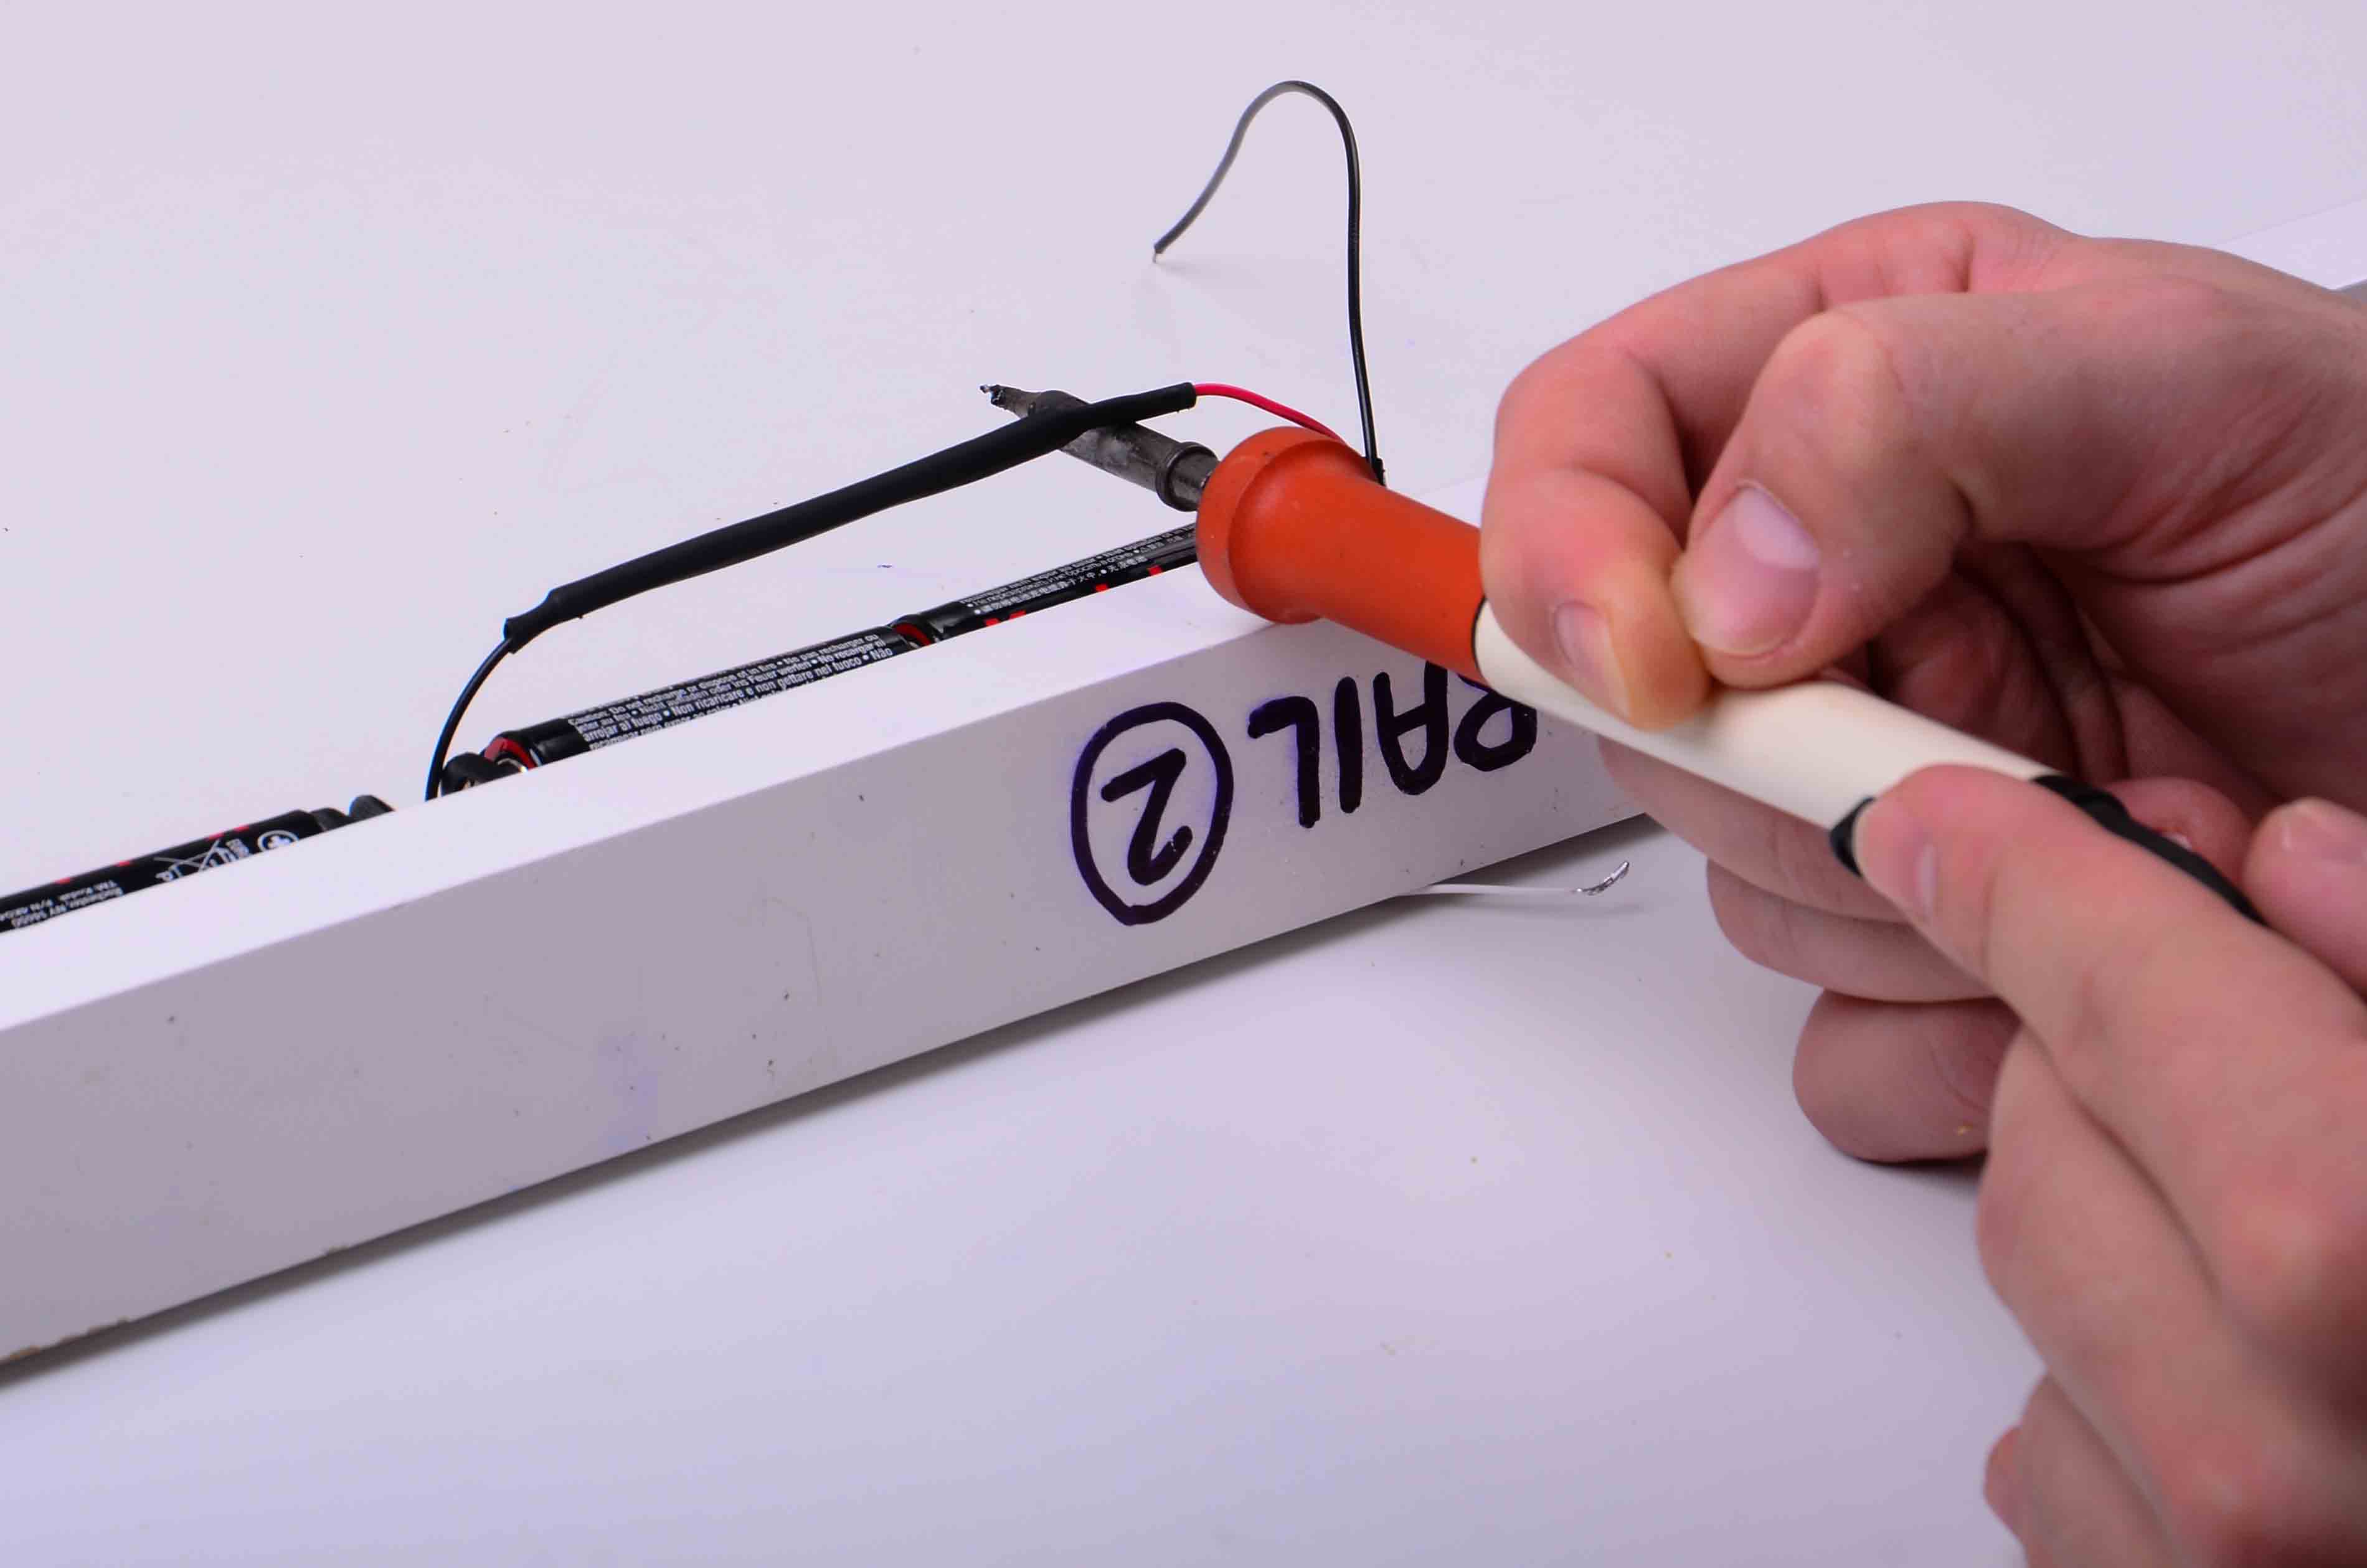
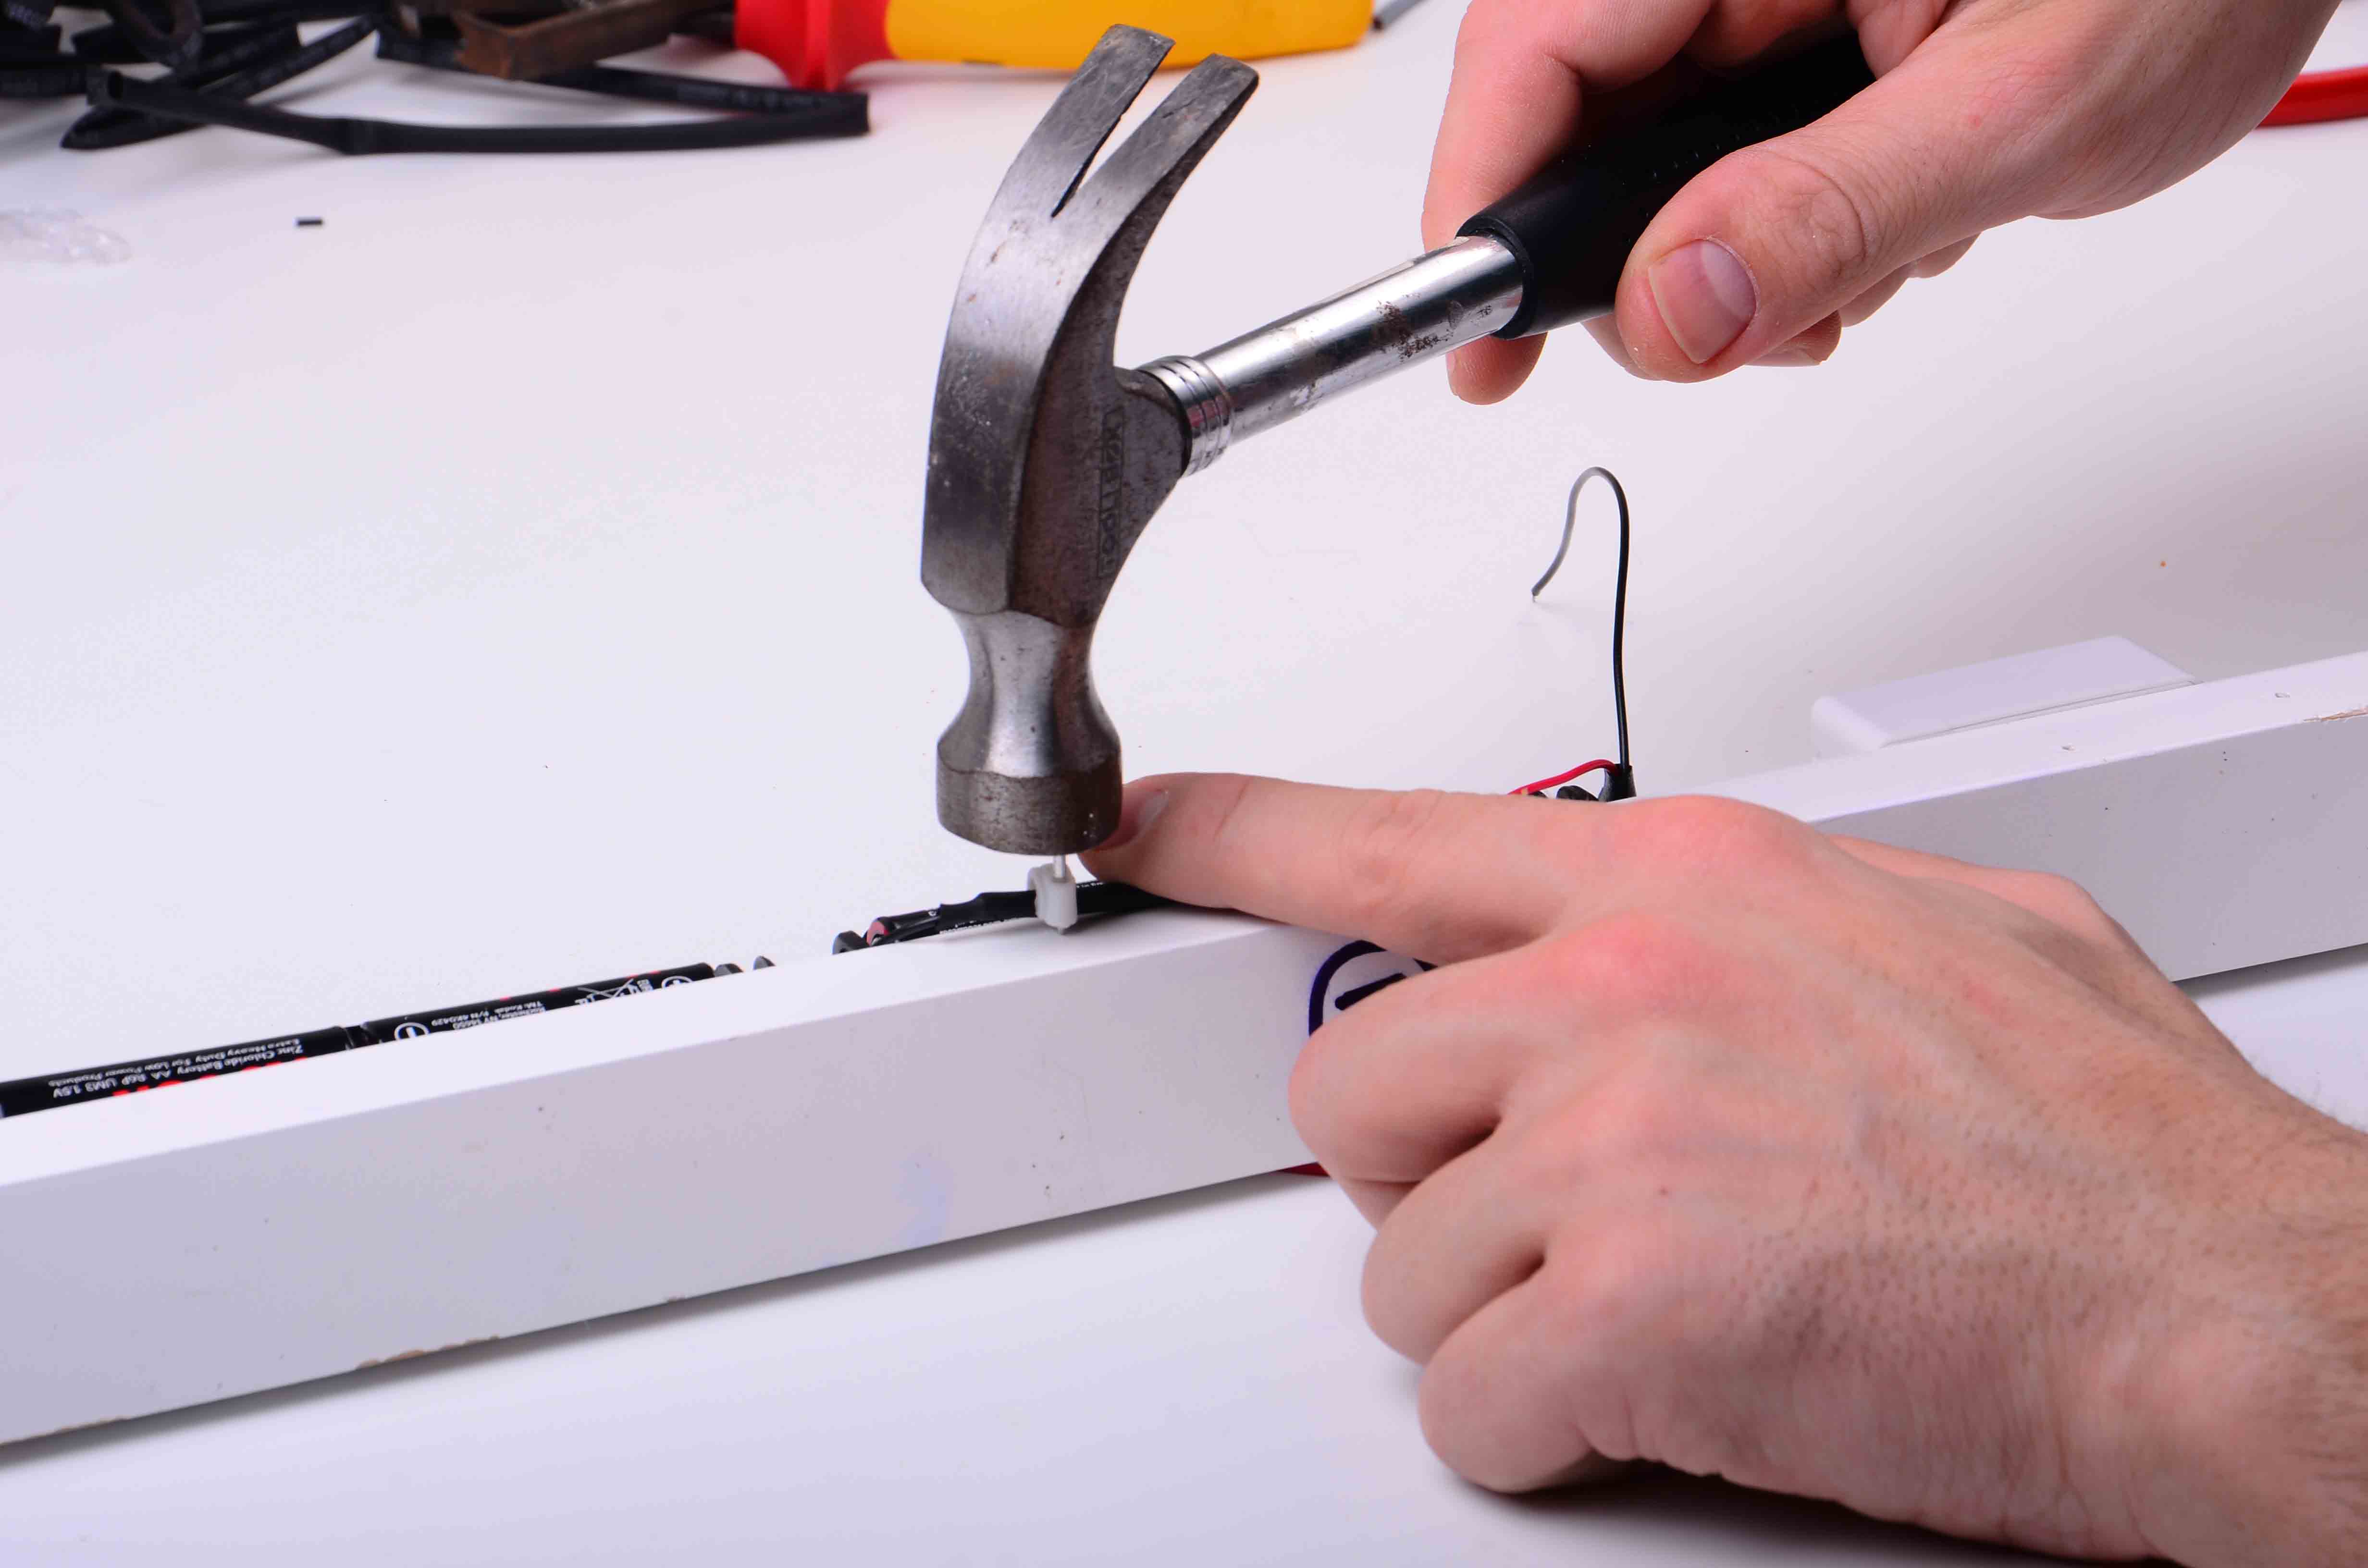
To tidy up all the wiring I used again some 4mm cable clips and heatshrink tube that I contracted by puting the tip of the soldering iron close enough for a while (you can also use a hair drier if you have one available). If you do not have heatshrink tube you can use insulation tape instead or simply leave the cables unprotected, but I do not recommend that. Things properly done last longer so I suggest you are patient and go through all the steps .

STEP 8: Plug the connector into the IR Controller Box socket and there you have your light rail ready to rock!

Blog___DIY_Light_Rails_Gear_0036  Blog___DIY_Light_Rails_Gear_0037

STEP 9Switch off the lights of the room you are in at the moment, use the remote to power on the LEDs and play around with the different buttons to get an idea of the purpose of each one and of the posibilities the power rail can give you:

Blog___DIY_Light_Rails_Gear_0041

Blog___DIY_Light_Rails_Gear_0040

Blog___DIY_Light_Rails_Gear_0039

Blog___DIY_Light_Rails_Gear_0038

The final result!

Well, if this has not been enough for encouraging you to build your own, let’s try luck with a short

<WATCH VIDEO>

Some quick test shots

Pending of going out to properly inaugurate them (yes, I built 2 of them), I publish here some test shots for you to have a rough idea of what you could achieve!

Blog___DIY_Light_Rails_Gear_0043

Blog___DIY_Light_Rails_Gear_0044

Blog___DIY_Light_Rails_Gear_0045

Blog___DIY_Light_Rails_Gear_0046

Blog___DIY_Light_Rails_Gear_0047

Blog___DIY_Light_Rails_Gear_0048

Blog___DIY_Light_Rails_Gear_0049
If you liked this post, I invite you to click LIKE and/or suscribe to my blog for being aware of all the updates!

Thank you very much for reading!

DIY your own Light Painting Gear for creating Light Orbs

I have always felt attracted by Light Painting. In my opinion this is possibly one of the most creative photographic techniques of them all. Some would say that photography in general can be as creative as you want it to be, but here is my point:

When you take a picture, you prepare a mixture of creativeness, originality and imagination in order to get the most of the environment elements available in front of you. You decide, you press the shutter and there you go, your possible new masterpiece is ready to develop! Light painting goes one step further and, apart from all the previous, the photographer adds elements that do not actually exist in the frame!! He creates the picture as if he were a painter, but with the key difference that painters use paint whereas we use LIGHT, and light and how to control it is what photography is all about.

For further information check this out.

This technique is not new to me since I have played with it every now and then in the past, but I was totally self taught until I attended the last 9th of February to a Meetup group about Light Painting, precisely about how to create Light Orbs and Light Rails. I enrolled to this event since I had tried to make these child´s game Light Obrs or Light Spheres and all I obtained was a perfectly crappy bi-polar ellipses bent towards every possible side, hehe.

In the meetup we were showed how to improve our technique to create good Orbs, but that is something I am not going to explain right now. However, since it is a tricky business that not only requires to know the theory but to practise it a lot, I will dedicate a future post just for that, promised!

Apart from it, the most interesting stuff I learnt during the nearly 4 hours the meetup lasted for was the “How To” part of it. The meetup coordinators, Shiu Bond Whan and Dion Hitchcock, and organiser Alex Laberge kindly explained in detail how to build our own. Amazingly enough, everything was LED based hand made stuff. The ones who know me are aware of how much I love to attempt building things of this kind and so having that gear within my equipment suddenly  became a “need”.

After the meetup I contacted Shiu asking him the exact materials he bought on eBay since not all LEDs are ideal for the job. The colours are important since some colours are not suitable at all, for example red (although you can find some expensive ones that would work).

There are two jigs to build and here I put a list of the materials required for each:

Materials for LIGHT ORBS (difficulty: 5 out of 10 // time: 60 minutes // price: between £7 and £9):

Once you know the materials, lets start building the LIGHT ORBS jig:

HOW TO BUILD THE “ORBS” LIGHTS

STEP 1: Test that the 30 LEDs light string functions correctly:

Blog___DIY_Light_Orbs_Gear_0001  Blog___DIY_Light_Orbs_Gear_0002

STEP 2: Stick sellotape to a table (sticky side upwards)

Blog___DIY_Light_Orbs_Gear_0003

STEP 3: One by one stick the 30 LEDs to the adhesive of the sellotape, leaving roughly 3 cm between LEDs:

Blog___DIY_Light_Orbs_Gear_0004  Blog___DIY_Light_Orbs_Gear_0005  Blog___DIY_Light_Orbs_Gear_0006  Blog___DIY_Light_Orbs_Gear_0007  Blog___DIY_Light_Orbs_Gear_0008  Blog___DIY_Light_Orbs_Gear_0009

STEP 4: Once the 30 are attached to the sellotape, cover them with another layer (sticky side against sticky side)

Blog___DIY_Light_Orbs_Gear_0012  Blog___DIY_Light_Orbs_Gear_0011  Blog___DIY_Light_Orbs_Gear_0010

STEP 5: At this point you have a tidier LED string, easier to manipulate. Cut the wire with a cutting pliers as follows:

Blog___DIY_Light_Orbs_Gear_0014

STEP 6: Reserve the battery holder for later and focus on the LED string. Grab the LED on one of the sides and start rolling the rest of the LEDs over it:

Blog___DIY_Light_Orbs_Gear_0015  Blog___DIY_Light_Orbs_Gear_0016  Blog___DIY_Light_Orbs_Gear_0017

STEP 7: Once you have formed a swirl with all the LEDs hold everything in position with sellotape, covering the outer LEDs and the bunch of wires with several loops until you get a solid structure:

Blog___DIY_Light_Orbs_Gear_0018  Blog___DIY_Light_Orbs_Gear_0019  Blog___DIY_Light_Orbs_Gear_0020

STEP 8: Unsolder the remains of the original thin wires from the switch board inside the battery holder as follows:

Blog___DIY_Light_Orbs_Gear_0022  Blog___DIY_Light_Orbs_Gear_0023

STEP 9: With the help of a heavy-duty soldering iron (do not use good quality one for this task) resize the hole until it is big enough to pass the new wires (audio cable) through it. Take into account that the cable must pass tight through the whole, to avoid the solder joints to break when the cable is pulled out (if the cable get loose you will need to glue it to strengthen it so be careful not oversizing the hole too much)

Blog___DIY_Light_Orbs_Gear_0024  Blog___DIY_Light_Orbs_Gear_0025

STEP 10: Pass the two cores of the cable through the whole and leave excess of wire that allows you to solder it comfortable to the pads on the switch board

Blog___DIY_Light_Orbs_Gear_0027

STEP 11: Solder each wire to any of the two pads (at this point the polarity is not important)

Blog___DIY_Light_Orbs_Gear_0028  Blog___DIY_Light_Orbs_Gear_0029  Blog___DIY_Light_Orbs_Gear_0030

STEP 12: Stripe about 1cm  off the other end of the cables (unconnected for now). Put the switch in the ON position and try the polarity. When the LEDs light up, remember that polarity and solder the audio cable to the LED thin wires accordingly. Once soldered, cover it with heatshrink tube (you can buy it from any hardware stores) and apply heat to make it hug the solder joint. If you do not have access to heatshrink tube, insulating tape can be used instead.

Blog___DIY_Light_Orbs_Gear_0031  Blog___DIY_Light_Orbs_Gear_0032 Blog___DIY_Light_Orbs_Gear_0032

STEP 13: Hold the wires in position over the LED “bulb” using sellotape. Give it a good amount of turns. The more sellotape you put and tension you apply here, the better, stronger and more resistant will your wiring and soldering be. This means, fewer repairs would be required (if they ever break). Do not rush, do things properly.

Blog___DIY_Light_Orbs_Gear_0034  Blog___DIY_Light_Orbs_Gear_0035  Blog___DIY_Light_Orbs_Gear_0036

STEP 14: Switch on your new toy and verify that it works correctly:

Blog___DIY_Light_Orbs_Gear_0037  Blog___DIY_Light_Orbs_Gear_0038  Blog___DIY_Light_Orbs_Gear_0039

I have made myself 4 different colours. The green one is only composed by 20 LEDs so, in order to get as good results as with the other colours I need to play a bit more with my camera settings or to choose a different and darker location to shot in.

Blog___DIY_Light_Orbs_Gear_0042  Blog___DIY_Light_Orbs_Gear_0041

Now, some quick test shots at home at f13 and 15 seconds of shutter speed:

Blog___DIY_Light_Orbs_Gear_0043  Blog___DIY_Light_Orbs_Gear_0046  Blog___DIY_Light_Orbs_Gear_0047  Blog___DIY_Light_Orbs_Gear_0048

I HOPE I HAVE ENCOURAGED YOU TO BUILD YOUR OWN!!!

I want to thank again to Shiu Bond Wan and Dion Hitchcock for their time and priceless help!!

Thank you